MaxCut Support Page
Learn how to get the most out of MaxCut with our comprehensive support articles. Find answers to common questions, step-by-step setup guides, and troubleshooting tips.
Training & Tutorials
Edging on Panels
This article explains the Input Panel Edging fields, how to use them effectively, and provides practical examples.
Updated 1 week ago
Step-by-Step Guide
1. In the Input Items tab
Select the panel you want to edit or add a new one.
2. Locate the Edging Fields
Each panel has four edging fields: Length 1, Length 2, Width 1, Width 2.
These correspond to each edge of the panel.
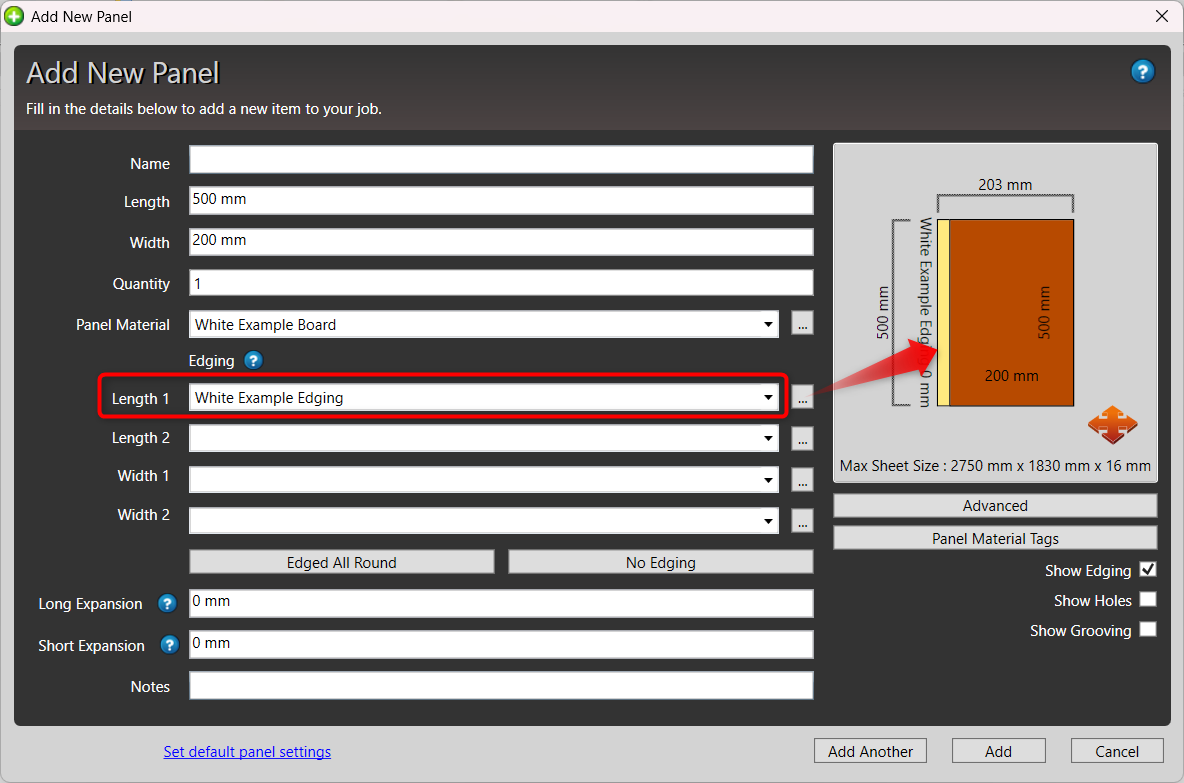
Length 1
Length 2
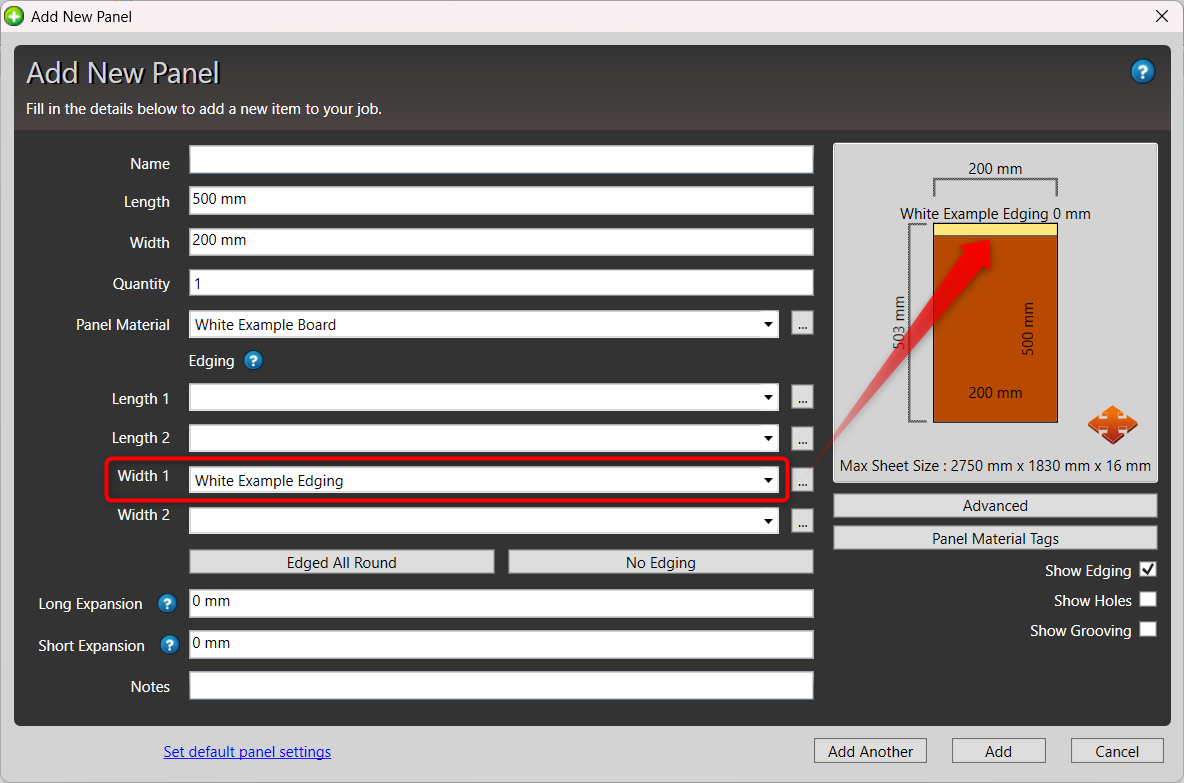
Width 1
Width 2
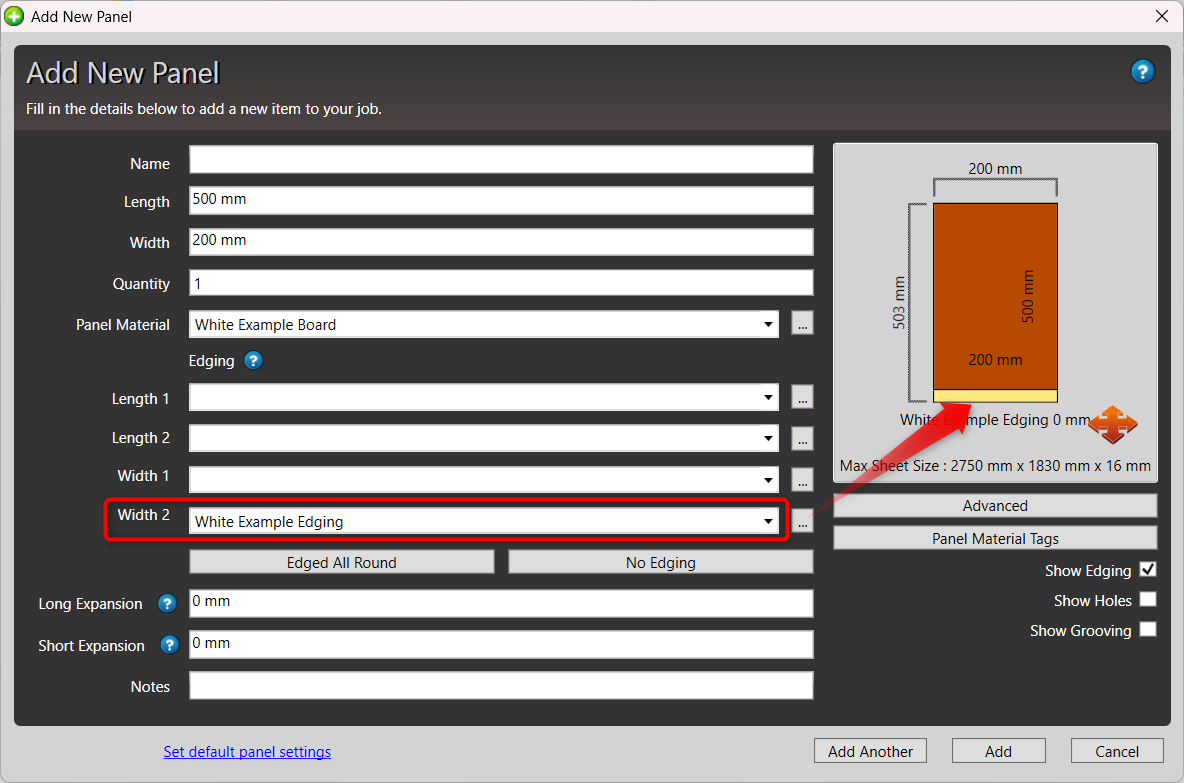

3. Enter Edging Values
Click on the field you want to add edging to and select the edging material you want to apply (e.g., 1mm PVC, 2mm White).
You can also type the name of your edging material to filter the list of options. Your edging materials can be configured by going to Manage > Edging Materials.
You can leave a field blank if that side does not require edging.

4. Apply Consistently
Convenient 'Edged All Around' or 'No Edging' buttons can be used to add edging to all sides of the panel or remove them altogether.

5. Confirm and Save
Save the panel to include the edging details in costing and cutlists.
6. Optimize
Your edging is indicated by a dotted line on your panel. See the Edging Legend for the different dotted lines that correspond to different edging materials.
Save the panel to include the edging details in costing and cutlists.

7. Where to find your edging length
To see how much edging your job requires, take a quick glance at the Job Edging section on the optimization screen:
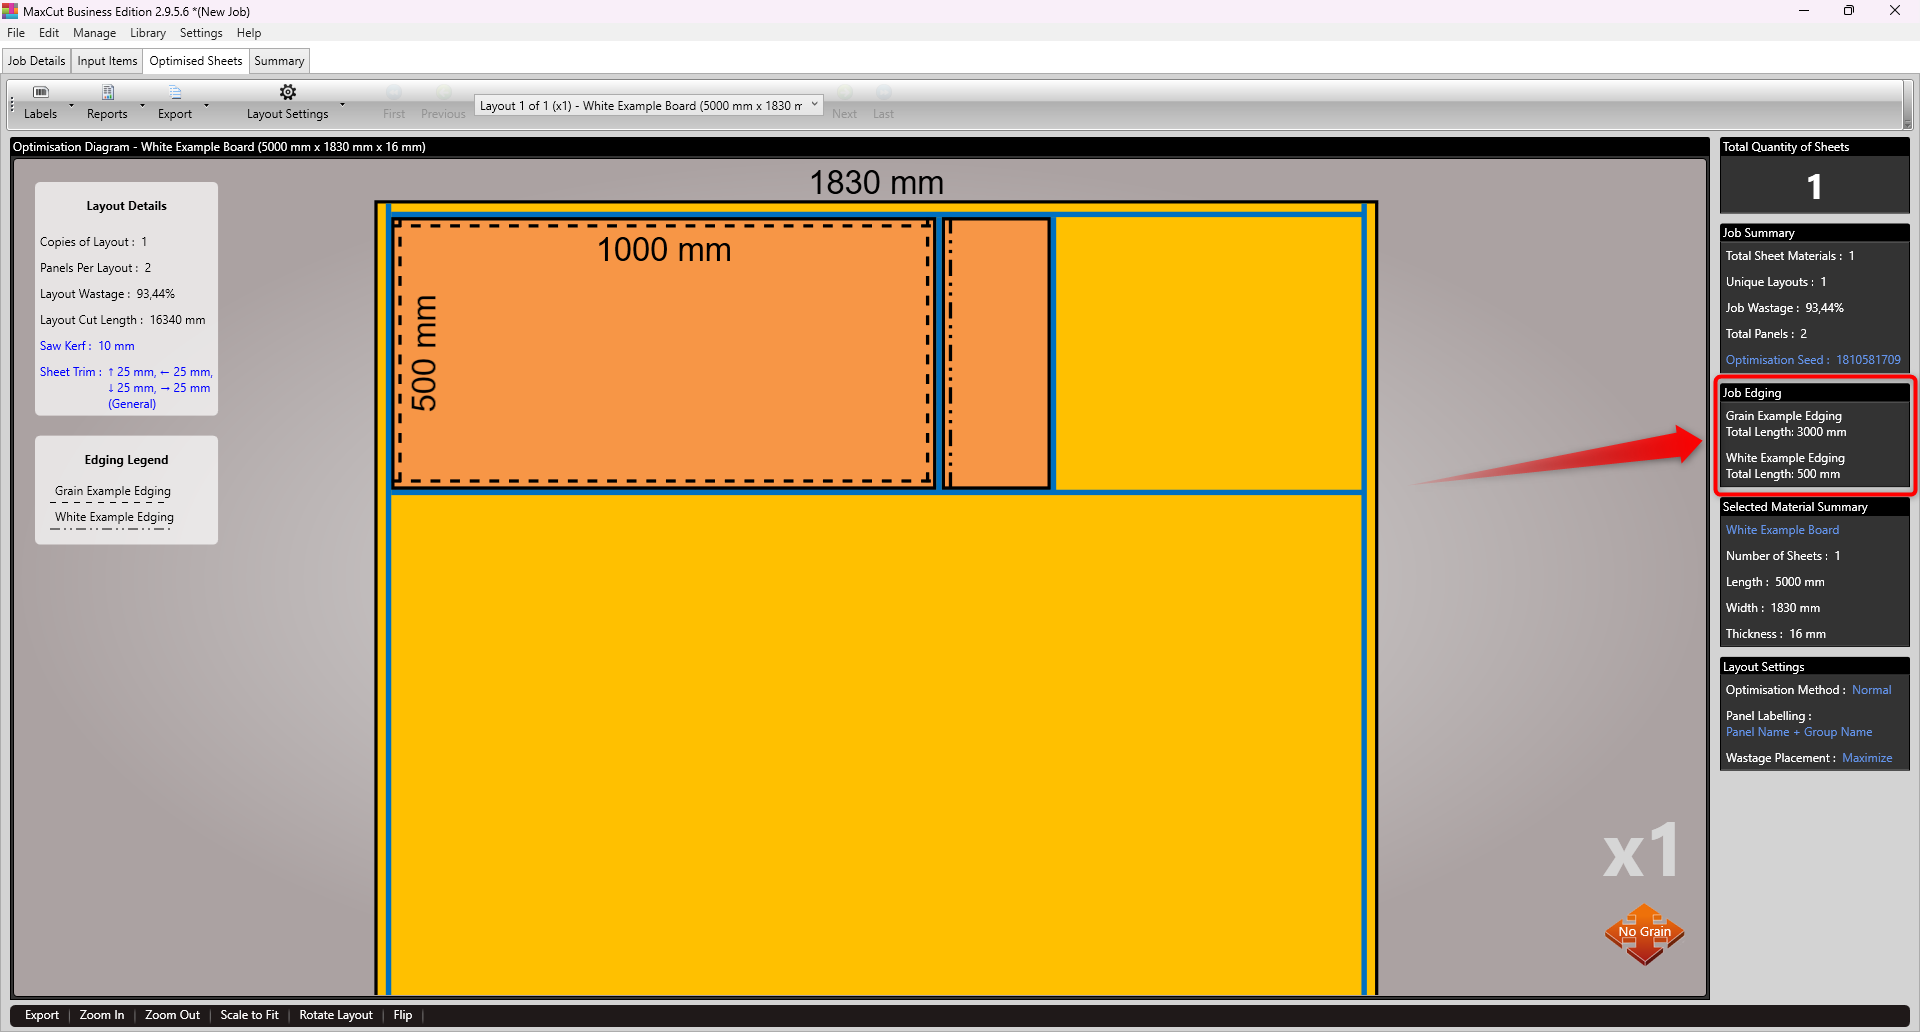
You can also print the Job Summary report to see the details of your edging materials for the job.
By using the edging fields correctly, you ensure accurate costing, efficient production, and professional finishes on your panels.