MaxCut Support Page
Learn how to get the most out of MaxCut with our comprehensive support articles. Find answers to common questions, step-by-step setup guides, and troubleshooting tips.
Subscriptions & Licensing
Saw Kerf Settings
Updated 1 week ago
Defining your saw kerf is essential to ensure accurate material calculations and optimization. Previously, MaxCut referred to this setting as blade thickness, but we now use saw kerf to better reflect that this is the material removed when cutting a panel.
What is the difference between Blade Thickness and Saw Kerf?
While blade thickness and saw kerf are sometimes used interchangeably, blade thickness refers to the actual thickness of your saw blade, while saw kerf refers to the thickness of material removed when cutting a panel. Although these two measurements should be very close for precise cuts, they are not always the same.
How to Set your Saw Kerf in MaxCut
Go to Settings > Layout > Saw Kerf to open the Saw Kerf dialog
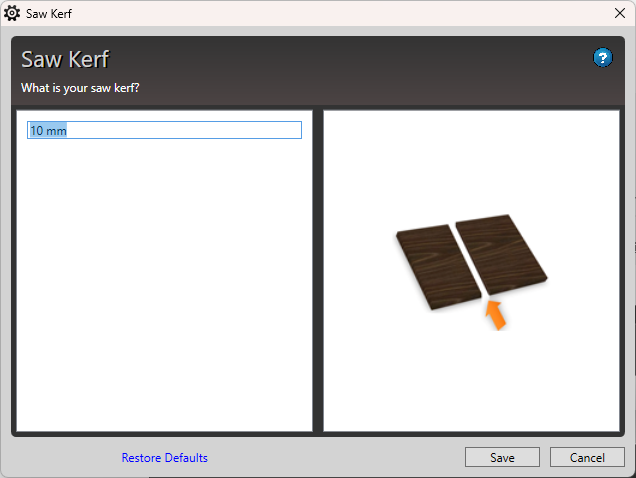
In the dialog box, enter your saw kerf (width of material removed when cutting) (e.g., 10 mm), and click Save to apply the setting
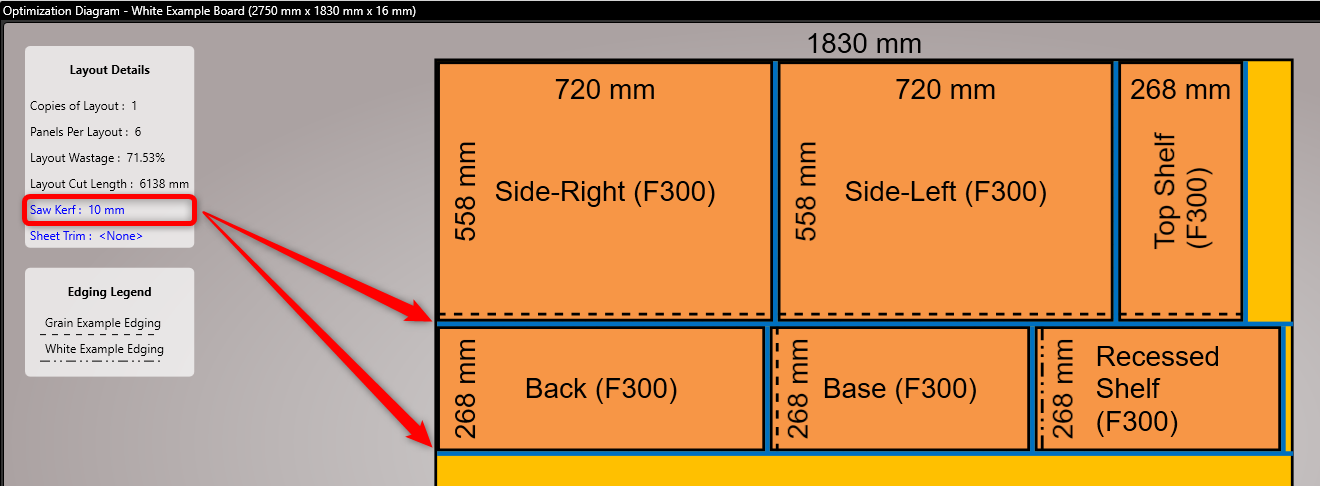
After adding items to your job, click on Optimize to see your cut lines on your optimization diagram. In the example below, the blue lines represent the saw kerf or cut lines. The thickness of these lines will differ depending on your saw kerf.
Additional Tip:
Override Saw Kerf per Material
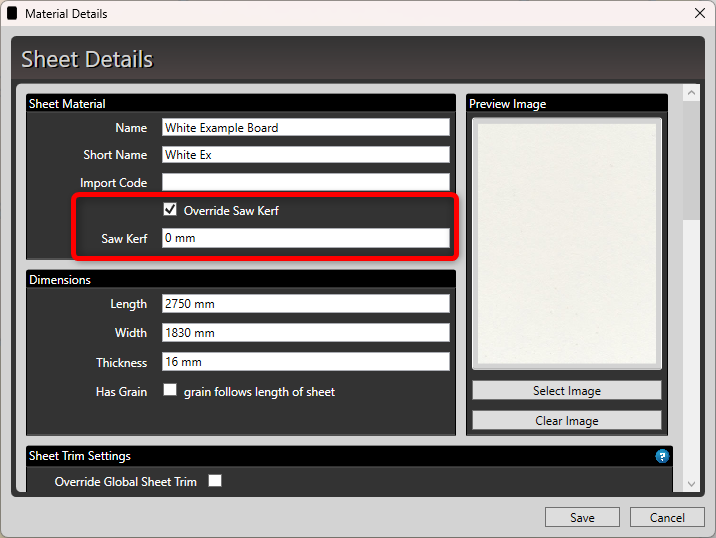
You can override your default blade thickness for specific materials. To do this, go to Sheet Materials, select the material, check the Override Saw Kerf box, and specify the saw kerf for that material (see below). This ensures precise cuts tailored to each material’s requirements.
By correctly setting and understanding saw kerf, you can achieve precise cuts and reduce material waste in your projects.